Homemade Chocolate Cake: A Complete Baking Guide
There’s something truly magical about the aroma of chocolate cake baking in your oven. This isn’t just any chocolate cake—it’s a deeply indulgent, impossibly moist masterpiece that transforms simple pantry ingredients into an unforgettable dessert experience. Whether you’re celebrating a milestone birthday, hosting an elegant dinner party, or simply surrendering to an irresistible chocolate craving, this recipe delivers professional bakery-quality results right in your home kitchen.
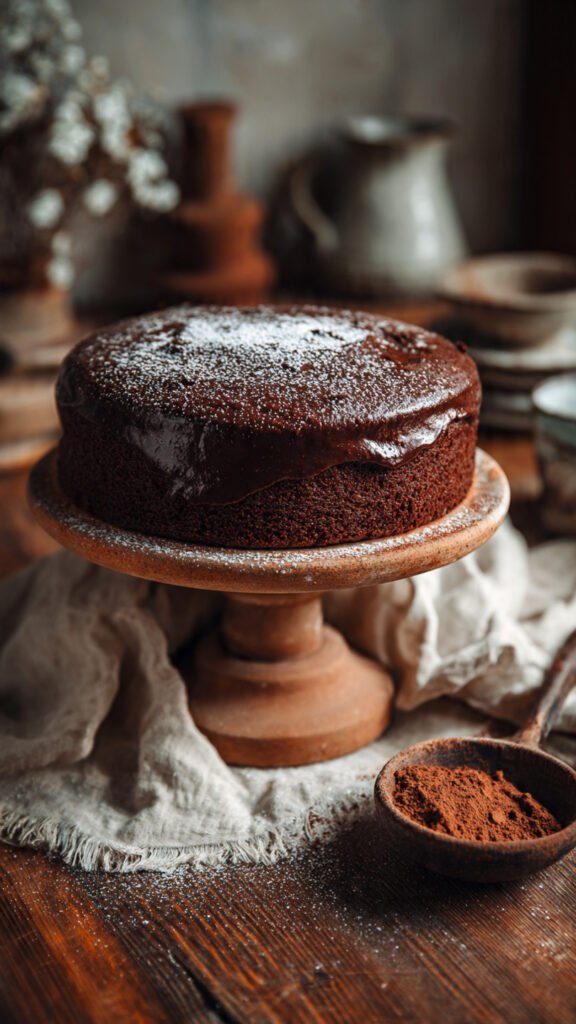
What sets this chocolate cake apart is its remarkably tender crumb and intense cocoa flavor that doesn’t overwhelm but rather satisfies in the most luxurious way. The secret lies in the unique addition of boiling water to the batter, which might seem unconventional at first, but this technique blooms the cocoa powder and creates an incredibly moist texture that stays fresh for days. Paired with silky chocolate buttercream frosting, each slice offers the perfect balance of sweetness and rich chocolate depth.
Essential Ingredients for Success
The beauty of this recipe lies in its simplicity—no exotic ingredients or hard-to-find items required. Everything you need is likely already waiting in your pantry. This recipe creates a stunning two-layer cake using standard 9-inch round pans and generously serves 12 people, though you might find yourself sneaking back for seconds.
For the Chocolate Cake Layers:
- 1¾ cups all-purpose flour (220g)
- 1½ cups granulated sugar (300g)
- ¾ cup unsweetened cocoa powder (65g)
- 1½ teaspoons baking powder
- 1½ teaspoons baking soda
- ½ teaspoon salt
- 2 large eggs at room temperature
- 1 cup whole milk (240ml)
- ½ cup vegetable oil (120ml)
- 2 teaspoons pure vanilla extract
- 1 cup boiling water (240ml)
For the Velvety Chocolate Frosting:
- 1 cup unsalted butter (230g), softened to room temperature
- 3½ cups powdered sugar (440g)
- ½ cup unsweetened cocoa powder (45g)
- ¼ cup milk (60ml)
- 2 teaspoons pure vanilla extract
Time Investment and Nutrition
Preparation time: 20 minutes
Baking time: 35 minutes
Total time: 55 minutes (plus cooling)
Yield: 12 generous slices
Calories per serving: Approximately 450 kcal
Detailed Baking Instructions
Success in baking comes from understanding not just what to do, but why each step matters. Let’s walk through the entire process with insights that will help you achieve perfection every time.
Beginning the Baking Process
Start by preheating your oven to 350°F (175°C). This seemingly simple step is crucial—placing batter in an oven that hasn’t reached the proper temperature can result in uneven rising and texture issues. While the oven heats, prepare your two 9-inch round cake pans. You have options here: either grease them generously with butter or cooking spray and dust lightly with flour, tapping out any excess, or line the bottoms with parchment paper circles for foolproof release.
Building the Foundation
In your largest mixing bowl, combine all the dry ingredients: flour, sugar, cocoa powder, baking powder, baking soda, and salt. Use a whisk to thoroughly blend these ingredients together for at least 30 seconds. This whisking isn’t just about mixing—it’s aerating the flour and ensuring your leavening agents are evenly distributed throughout the batter, which prevents pockets of bitter baking soda or flat spots in your finished cake.
Creating the Batter
Now add your wet ingredients directly to the dry mixture: eggs, milk, vegetable oil, and vanilla extract. Using an electric mixer on medium speed, beat everything together for 2 to 3 minutes. You’ll notice the batter transforming from a rough, lumpy mixture into something smooth and glossy. This beating time incorporates air into the batter, contributing to the cake’s light, fluffy texture despite its rich chocolate density.
The Secret Ingredient
Here comes the unconventional step that makes this cake extraordinary. With your mixer running on low speed, carefully pour in the boiling water. The batter will thin dramatically—don’t panic! This is exactly what should happen. The hot water blooms the cocoa powder, intensifying its chocolate flavor and creating steam that keeps the cake incredibly moist. Stir just until the water is fully incorporated, being careful not to overmix at this stage.
Into the Oven
Divide the thin batter evenly between your prepared pans. A kitchen scale can help ensure equal layers, but eyeballing works perfectly fine too. Slide the pans into your preheated oven and bake for 30 to 35 minutes. The cake is ready when a toothpick inserted into the center comes out clean or with just a few moist crumbs clinging to it. The tops should spring back when lightly pressed.
Cooling Properly
Remove the pans from the oven and let them rest for exactly 10 minutes. This brief resting period allows the cakes to set enough to handle without breaking, while preventing them from continuing to cook in the hot pan. After 10 minutes, run a knife around the edges and invert the cakes onto a wire cooling rack. Allow them to cool completely—and yes, this means completely—before frosting. Attempting to frost warm cake will result in melted, sliding frosting and a disappointing presentation.
Crafting the Perfect Frosting
While your cakes cool, prepare the chocolate buttercream. In a clean mixing bowl, beat the softened butter for about 3 minutes until it’s light, fluffy, and pale in color. Add the cocoa powder and half of the powdered sugar, mixing on low speed to prevent a kitchen-wide sugar explosion. Pour in the milk and vanilla extract, then gradually add the remaining powdered sugar. Once everything is incorporated, increase the speed to high and whip for an additional 2 minutes. The frosting should be light, fluffy, and spreadable. If it’s too thick, add milk one tablespoon at a time; if too thin, add more powdered sugar.
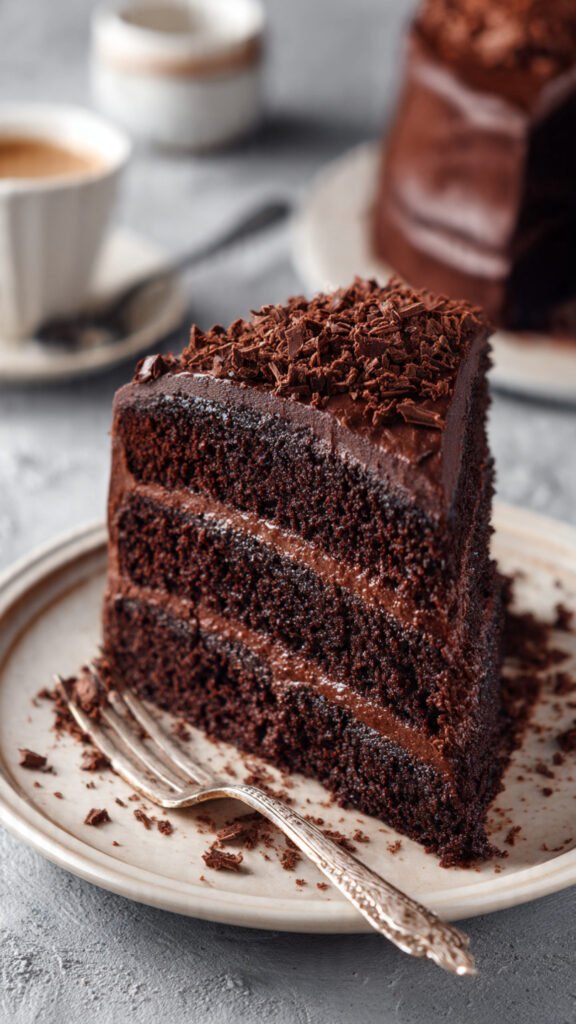
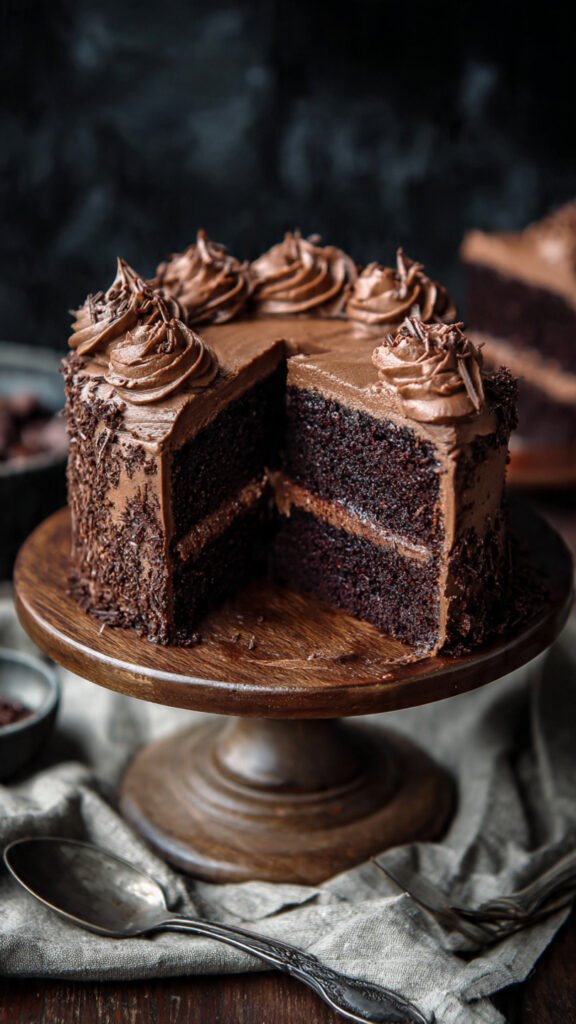
Assembly and Decoration
Place your first completely cooled cake layer on a serving plate or cake stand. Spread approximately one-third of the frosting across the top in an even layer, going all the way to the edges. Carefully position the second layer on top, pressing down very gently to adhere. Use the remaining frosting to cover the top and sides of the cake. An offset spatula makes this job easier, allowing you to create smooth, professional-looking sides and a beautifully swirled top.
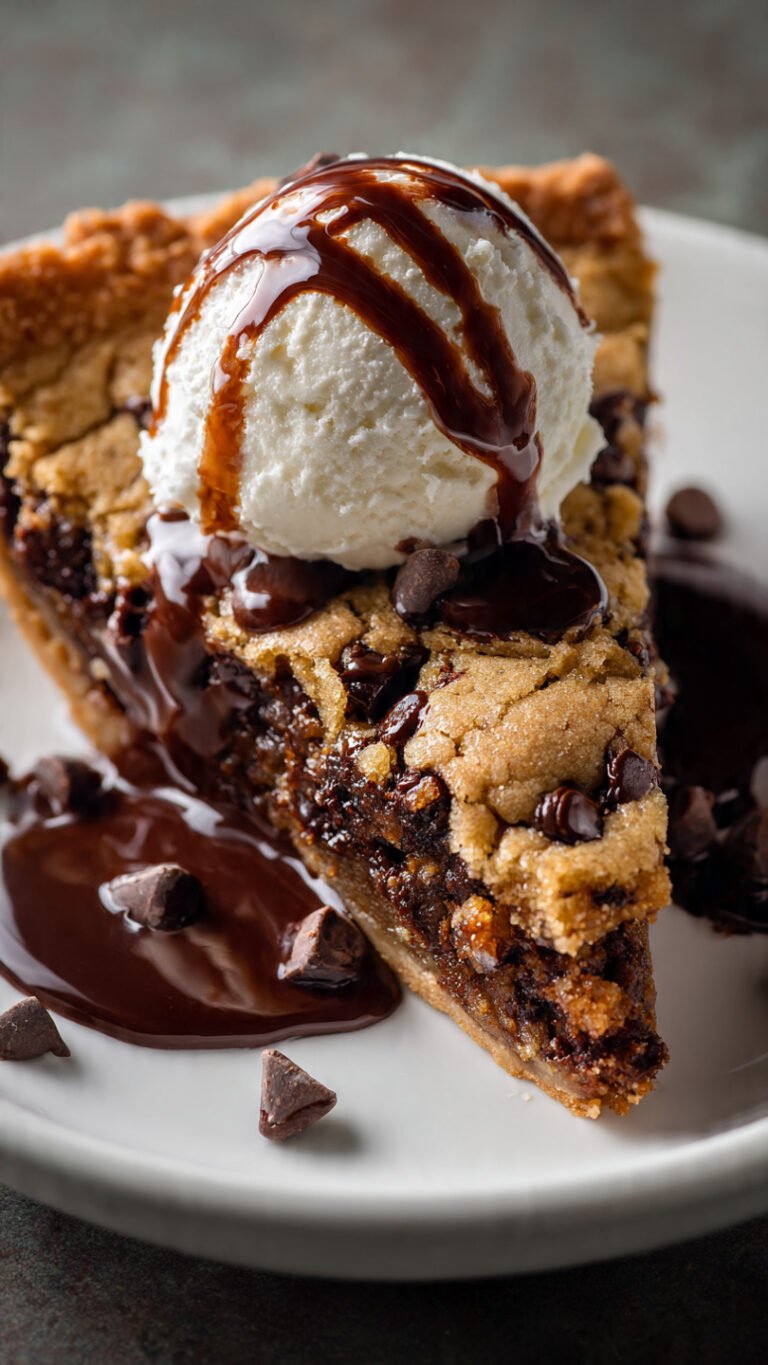
Creative Serving Ideas
This chocolate cake is magnificent on its own, but certain accompaniments elevate it to new heights. Consider serving each slice with a generous dollop of freshly whipped cream, which provides a light contrast to the rich chocolate. A scoop of vanilla bean ice cream creates a delightful temperature contrast. Fresh raspberries or sliced strawberries add brightness and cut through the sweetness beautifully. For adult gatherings, a small glass of dessert wine or rich coffee makes an elegant pairing.
Professional Baker’s Secrets
Understanding these insider tips will transform your results from good to extraordinary. Always bring eggs, milk, and butter to room temperature before beginning—cold ingredients don’t emulsify properly and can result in a denser cake. Sift your cocoa powder if it looks at all lumpy, as cocoa clumps stubbornly resist mixing once added to batter. Remember that overmixing after adding flour develops gluten, creating a tough, chewy texture rather than the tender crumb we’re seeking.
Invest in an oven thermometer if you don’t already own one. Many home ovens run hot or cold by 25 degrees or more, which significantly affects baking times and results. Start checking your cake at the 30-minute mark rather than waiting the full 35 minutes, as overbaking dries out even the most carefully crafted recipe.
Customization Options
Transform this base recipe into endless variations. For cupcakes, divide the batter among lined muffin tins and reduce baking time to 18-22 minutes, yielding approximately 24 cupcakes perfect for parties. Swap the chocolate frosting for peanut butter buttercream if you love that classic flavor combination. Fold chopped maraschino cherries into the batter or spread cherry compote between the layers for a Black Forest-inspired creation. For ultimate decadence, pour glossy chocolate ganache over the frosted cake, made by melting 4 ounces of chocolate with ½ cup of heavy cream.
Storage Guidelines
Properly stored, this cake remains fresh and delicious for days. At room temperature in an airtight container, it keeps for up to 3 days. Refrigeration extends this to one week, though you’ll want to bring slices to room temperature before serving for the best flavor and texture. For longer storage, wrap individual layers tightly in plastic wrap and freeze for up to 3 months. Thaw overnight in the refrigerator when ready to enjoy.
Final Reflections
This homemade chocolate cake represents everything wonderful about baking from scratch. It proves that you don’t need complicated techniques or professional equipment to create something truly special. The simple act of measuring, mixing, and waiting fills your home with anticipation and warmth. When you finally slice into those tender layers and taste the fruits of your labor, you’ll understand why homemade always beats store-bought. This recipe works beautifully for beginners while remaining a favorite of experienced bakers who appreciate its reliability and consistently delicious results.