Campfire Nachos: Outdoor Comfort Food
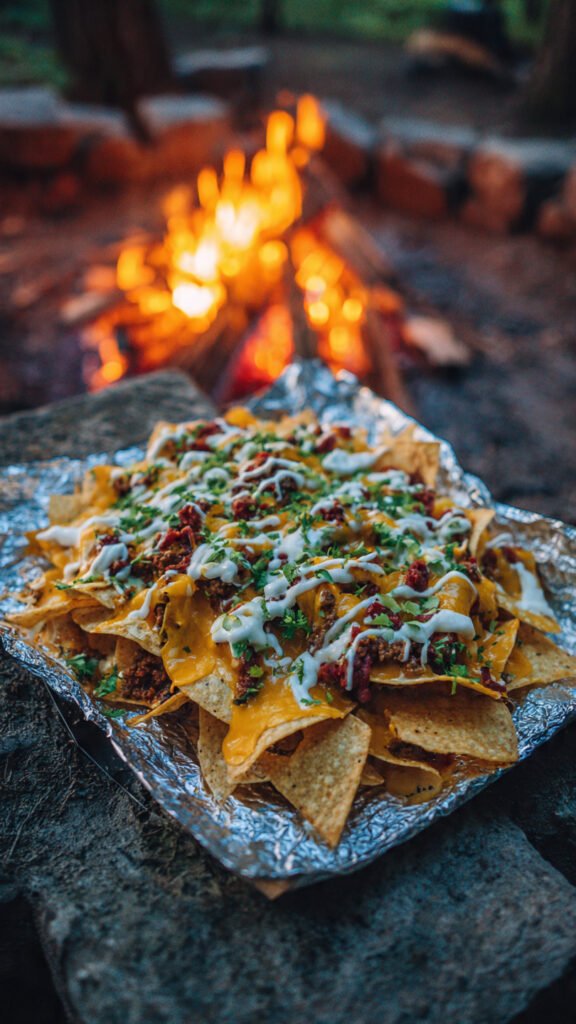
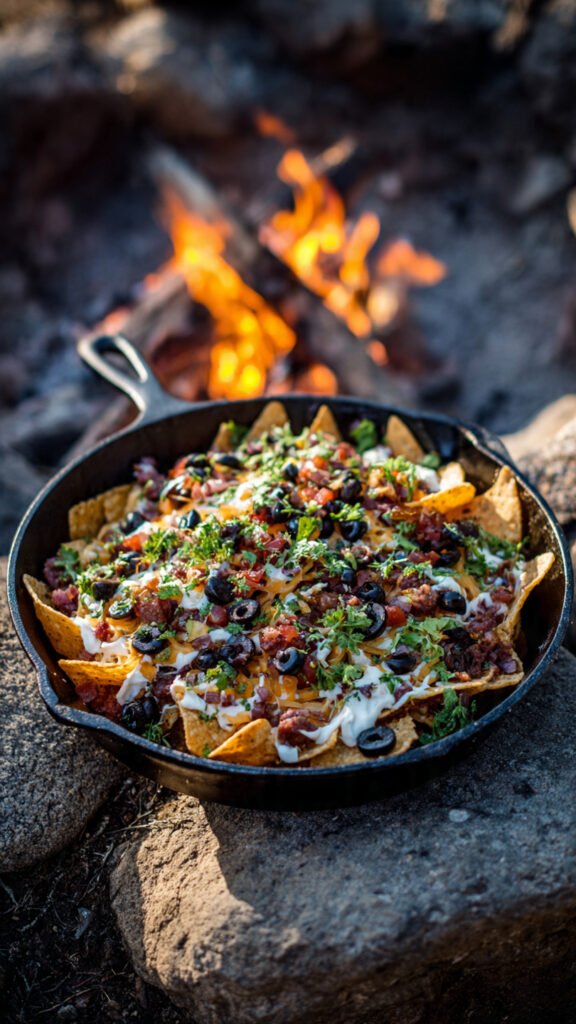
There’s something magical about gathering around a crackling fire with friends and family, sharing stories under the stars while enjoying delicious food. And when it comes to campfire cooking, few dishes can match the crowd-pleasing appeal of loaded nachos prepared in a trusty cast-iron skillet. These Campfire Nachos are the perfect blend of simplicity and flavor—a dish that transforms basic ingredients into an unforgettable outdoor dining experience.
What makes this recipe truly special is its incredible versatility. Whether you’re deep in the wilderness on a camping adventure, hosting a backyard bonfire, firing up the grill for a summer cookout, or even preparing dinner in your kitchen oven, these nachos adapt beautifully to any cooking method. The cast-iron skillet does all the heavy lifting, creating perfectly melted cheese and crispy chips with minimal effort. And here’s the best part: cleanup is virtually nonexistent. You can eat straight from the skillet, making this the ideal recipe for those moments when you want maximum flavor with minimum fuss.
The beauty of campfire nachos lies in their layered construction. Unlike nachos hastily thrown together on a plate, this method ensures every single chip gets its fair share of melted cheese, savory toppings, and fresh garnishes. Each layer builds upon the last, creating a harmonious blend of textures and flavors that will have everyone reaching for just one more chip.
Ingredients You’ll Need
For this recipe, you’ll need the following ingredients to serve 4-6 people:
- 1 (8 oz) bag tortilla chips
- 2 cups shredded taco cheese or your favorite blend
- 1/2 cup sliced black olives
- 1/4 cup sliced green onions
- 2 jalapeños, sliced with seeds removed
- Fresh cilantro for garnish (optional)
- Salsa, sour cream, and guacamole for serving
Choosing Your Ingredients
The quality of your ingredients directly impacts the final result. Opt for sturdy tortilla chips that won’t become soggy under the weight of toppings—restaurant-style chips work exceptionally well. For cheese, a Mexican blend or taco cheese provides authentic flavor, but feel free to experiment with sharp cheddar, Monterey Jack, or even pepper jack if you prefer extra heat.
Fresh jalapeños add a bright, spicy kick, but removing the seeds keeps the heat manageable for most palates. If you’re cooking for spice lovers, leave some seeds in or add extra peppers. The black olives contribute a briny depth that balances the richness of the cheese, while green onions provide a fresh, sharp contrast.
Step-by-Step Instructions
Building the Perfect Layers
The secret to exceptional campfire nachos is proper layering. This technique ensures even cheese distribution and prevents the dreaded “dry chip” syndrome where bottom layers remain unadorned.
Start by preparing your 10.5-inch cast-iron skillet. If your skillet is well-seasoned, you won’t need any additional preparation. Arrange one-third of the tortilla chips across the bottom of the skillet, creating an even base layer. Don’t worry about perfection—a few gaps are fine and actually help with heat circulation.
Next, sprinkle one-third of the shredded cheese over the chips, followed by half of the sliced black olives and half of the sliced green onions. This first layer establishes the foundation for flavor.
Create your second layer by adding another third of the chips, followed by another third of the cheese. This middle layer is crucial for structural integrity and ensures the nachos hold together well.
For the final layer, add the remaining chips, then top with the last third of the cheese, the remaining olives, and the remaining green onions. Arrange the sliced jalapeños artfully across the top—they’ll be the first thing people see, so make them count.
Cooking Your Nachos
Cover the skillet loosely with aluminum foil. This is important: the foil traps heat and helps melt the cheese evenly while preventing the top from burning before the bottom layers are ready.
Now comes the cooking method of your choice. For campfire cooking, place the skillet directly on a grate over medium coals or nestle it carefully in the embers, adjusting placement to avoid direct flames. On a grill, set the heat to medium and close the lid. In a conventional oven, preheat to 375°F and place the skillet on the middle rack.
Cook for 10-15 minutes, checking occasionally. You’ll know the nachos are ready when the cheese is completely melted and bubbly, and the edges of the chips just begin to turn golden. The exact timing depends on your heat source—campfires and grills may vary in temperature, so visual cues are more reliable than strict timing.
The Finishing Touch
Once the cheese is perfectly melted, carefully remove the skillet from the heat using heat-resistant gloves or a thick towel. Remove the foil and immediately garnish with fresh cilantro leaves. The residual heat will slightly wilt the cilantro, releasing its aromatic oils.
Serve the nachos directly in the skillet, placing it on a heat-resistant surface or trivet. Arrange small bowls of salsa, sour cream, and guacamole around the skillet for easy dipping. Provide serving tongs or a large spoon so everyone can help themselves.
Tips for Success
Temperature control is everything when cooking over a campfire or grill. Too hot, and your chips burn while the cheese remains solid. Too cool, and you’ll wait forever for melting. Medium heat creates that sweet spot where cheese melts beautifully while chips crisp up without scorching.
If you’re camping and want to prep ahead, pre-measure your ingredients into separate containers or bags. Shred the cheese at home, slice the vegetables, and pack everything in a cooler. At the campsite, assembly takes just minutes.
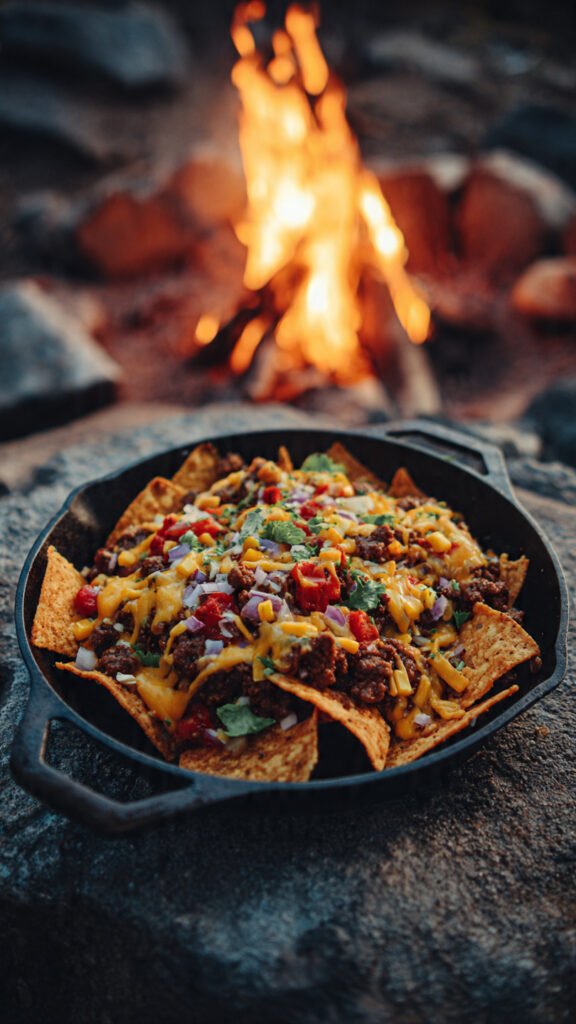
For extra protein, add a layer of cooked ground beef, shredded chicken, or black beans between the chip layers. This transforms the nachos from an appetizer into a complete meal.
Don’t skip the foil covering—it’s essential for even melting. However, if you want extra-crispy top-layer chips, remove the foil for the final 2-3 minutes of cooking.
Variations to Try
These nachos are endlessly customizable. Try adding corn kernels, diced tomatoes, or roasted peppers between layers. For a breakfast version, add scrambled eggs and swap the taco cheese for cheddar. Vegetarians can load up on beans, bell peppers, and extra vegetables, while meat lovers might add chorizo or bacon bits.
Why This Recipe Works
The cast-iron skillet is the unsung hero here. Its excellent heat retention and even distribution ensure consistent melting, while its rustic presentation adds to the outdoor dining experience. Plus, cast iron can handle direct flame, high heat, and temperature variations that would crack or warp other cookware.
The layering technique isn’t just for show—it’s engineered for success. By distributing cheese and toppings throughout rather than just on top, every bite delivers the complete nacho experience. No one gets stuck with plain chips at the bottom.
Nutritional Information
Per serving, these nachos provide approximately 230 calories with 3g carbohydrates, 14g protein, and 19g fat (10g saturated). They also contain 655mg sodium, 382mg calcium, and 9.5mg vitamin C. Keep in mind that these values can vary based on specific ingredient brands and portion sizes.
These Campfire Nachos prove that outdoor cooking doesn’t have to be complicated to be delicious. With minimal ingredients, simple preparation, and foolproof technique, you’ll create a dish that brings people together and makes any gathering memorable. Whether you’re miles into the backcountry or just steps from your kitchen, these nachos deliver comfort, flavor, and joy with every cheesy, loaded bite.