KFC-Style Oven Fried Chicken: The Ultimate Guide to Crispy, Golden Perfection
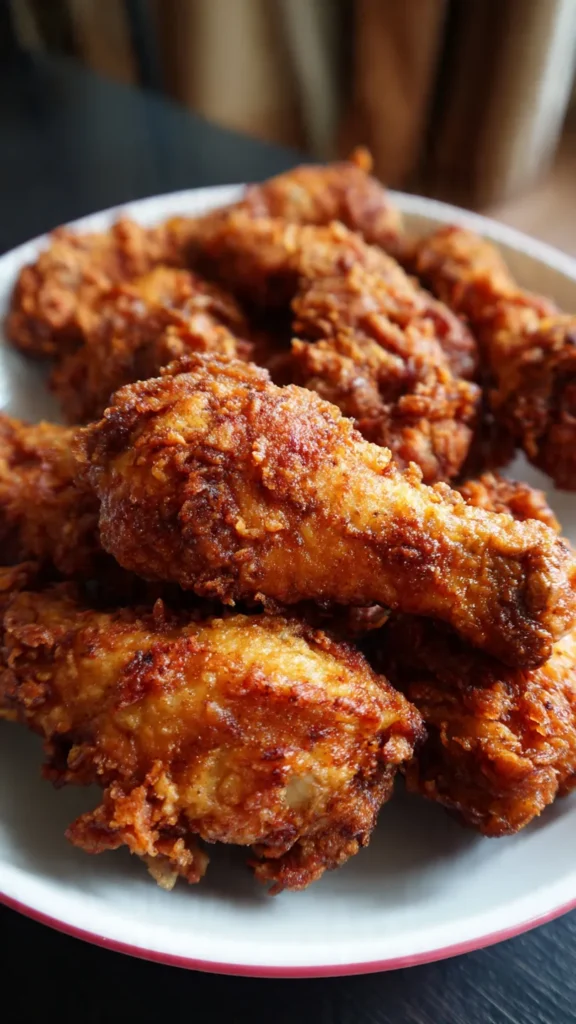
There’s something irresistible about the combination of juicy chicken and a perfectly seasoned, golden-brown crust. While traditional fried chicken requires a deep fryer and plenty of oil, this oven-baked version delivers all the flavor and crunch you crave with far less mess and fewer calories. By marinating chicken pieces in tangy buttermilk and coating them with a carefully crafted blend of herbs and spices, you can recreate that iconic KFC taste right in your own kitchen.
This recipe transforms ordinary chicken drumsticks or thighs into restaurant-quality comfort food that’s crispy on the outside and incredibly moist on the inside. The secret lies in the buttermilk marinade, which tenderizes the meat while infusing it with subtle tanginess, and a well-seasoned flour coating that creates an irresistible crunch. Whether you’re planning a family dinner, hosting a casual gathering, or simply satisfying a fried chicken craving, this healthier baked version offers all the satisfaction without the deep-frying hassle.
The Magic of Buttermilk Marination
Buttermilk isn’t just a trendy ingredient—it’s the key to achieving tender, flavorful chicken. The mild acidity in buttermilk works to break down tough protein fibers, resulting in meat that’s exceptionally juicy and fork-tender. Unlike water-based marinades that simply sit on the surface, buttermilk penetrates deeply into the chicken, carrying flavors throughout each piece.
For this recipe, plan ahead by marinating your chicken for at least two hours, though overnight marination yields even better results. The longer the chicken sits in buttermilk, the more tender it becomes and the better it absorbs the subtle tangy notes that complement the savory coating. This step is what separates good oven-fried chicken from truly exceptional chicken that rivals any takeout version.
Building the Perfect Spice Blend
The coating is where this recipe truly shines. A harmonious combination of paprika, garlic powder, onion powder, thyme, and basil creates layers of flavor that mirror the complexity of fast-food favorites. Each spice plays a specific role: paprika adds color and mild sweetness, garlic and onion powders provide savory depth, while thyme and basil contribute earthy, herbal notes that round out the profile.
The addition of cayenne pepper is optional but recommended for those who enjoy a gentle kick of heat. If you prefer milder chicken, simply omit it. The beauty of making this at home is the ability to customize the seasoning to your exact preferences. Feel free to adjust the spice levels, add a pinch of smoked paprika for extra depth, or experiment with other dried herbs like oregano or rosemary.
Achieving Crispy Perfection in the Oven
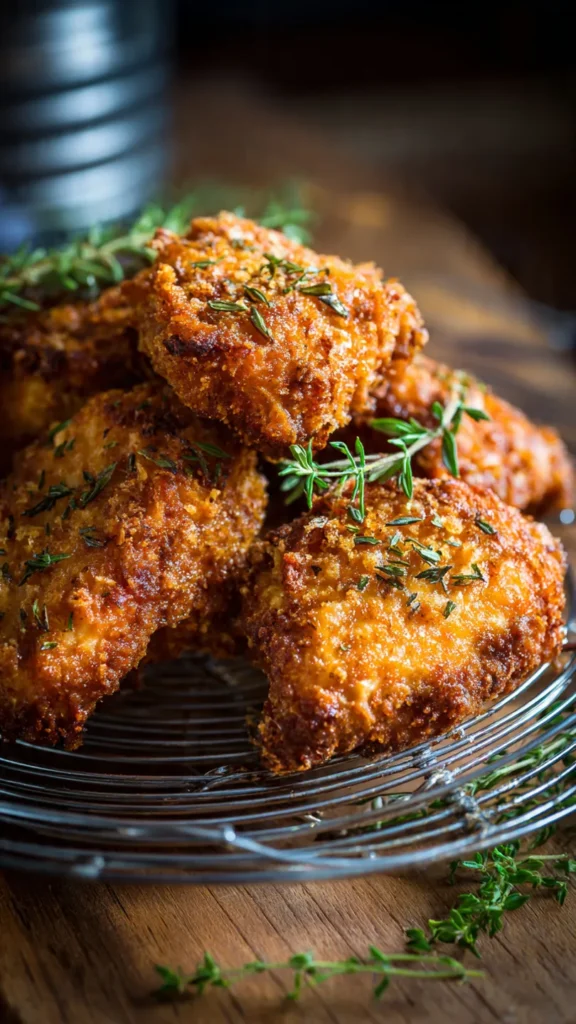
While deep frying creates immediate crispness through hot oil, oven baking achieves similar results through a combination of dry heat and strategic moisture management. The key is ensuring your chicken pieces are well-coated and properly spaced on the baking tray. Overcrowding prevents proper air circulation, leading to steaming rather than crisping.
Lightly spraying or brushing the coated chicken with olive oil or melted butter before baking is crucial. This thin layer of fat helps the coating brown beautifully and creates that satisfying crunch we associate with fried chicken. Turning the pieces halfway through cooking ensures even browning on all sides, resulting in chicken that’s uniformly golden and crispy.
Baking at 200°C provides the ideal temperature for cooking the chicken through while developing a crispy exterior. Lower temperatures would result in pale, soft coating, while higher heat might burn the outside before the inside is fully cooked. The 40 to 45-minute timeframe allows the coating to set and crisp while the chicken reaches a safe internal temperature.
Serving Suggestions and Pairings
This KFC-style chicken pairs wonderfully with classic comfort food sides. Consider serving it alongside creamy coleslaw, buttery mashed potatoes, corn on the cob, or seasoned fries. For a lighter meal, pair it with a crisp green salad or roasted vegetables. The versatility of this dish makes it suitable for everything from casual weeknight dinners to special celebrations.
Leftover chicken stores well in the refrigerator for up to three days and can be reheated in the oven to restore some of the original crispness. Avoid microwaving, as this will soften the coating. Instead, reheat at 180°C for 10 to 15 minutes until warmed through and the exterior crisps up again.
Ingredients
Marinade
- 8 chicken drumsticks or thighs
- 240 ml buttermilk
Coating
- 190 g all-purpose flour
- 1 teaspoon paprika
- 1 teaspoon garlic powder
- 1 teaspoon onion powder
- 0.5 teaspoon dried thyme
- 0.5 teaspoon dried basil
- 1 teaspoon salt
- 0.5 teaspoon black pepper
- 0.25 teaspoon cayenne pepper (optional)
- Olive oil spray or melted butter for finishing
Instructions
Step 1: Marinate the Chicken
Place your chicken drumsticks or thighs in a shallow dish large enough to hold them in a single layer. Pour the buttermilk over the chicken, turning each piece to ensure complete coverage. Every surface should be coated with the tangy marinade. Cover the dish tightly with plastic wrap or a lid and refrigerate for a minimum of two hours. For optimal tenderness and flavor, marinate overnight. The extended time allows the buttermilk to work its magic, breaking down the proteins for exceptionally juicy meat.
Step 2: Prepare Your Oven and Baking Tray
When you’re ready to cook, preheat your oven to 200°C. This temperature is crucial for achieving the right balance of crispy coating and juicy interior. Line a large baking tray with parchment paper, which prevents sticking and makes cleanup effortless. Lightly grease the parchment with a brush of oil or melted butter to further ensure the chicken doesn’t adhere to the surface during baking.
Step 3: Mix the Seasoned Coating
In a large mixing bowl, combine the all-purpose flour with all your dried spices and seasonings. Add the paprika, garlic powder, onion powder, dried thyme, dried basil, salt, black pepper, and cayenne pepper if using. Use a whisk or fork to thoroughly blend all ingredients until the mixture is uniform in color and the spices are evenly distributed throughout the flour. This ensures every bite of chicken delivers consistent flavor.
Step 4: Coat the Chicken
Remove the chicken from the refrigerator. Working with one piece at a time, lift the chicken from the buttermilk marinade, allowing excess liquid to drip back into the dish. Don’t shake off too much—a light coating of buttermilk helps the flour mixture adhere. Place each piece in the seasoned flour mixture and press firmly, turning to coat all sides thoroughly. Make sure to get flour into all the nooks and crannies for complete coverage. Set coated pieces aside on a clean plate while you finish the remaining chicken.
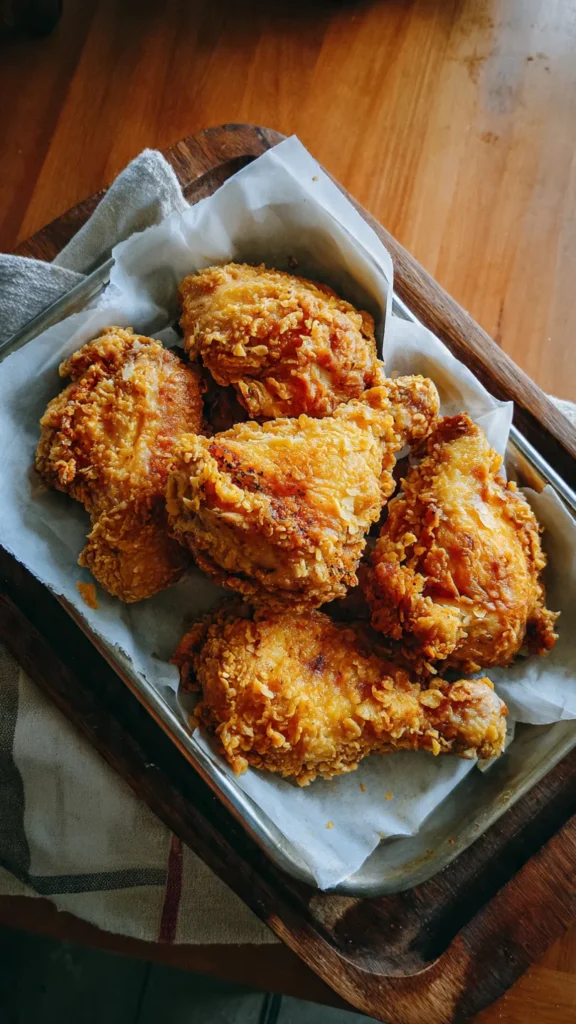
Step 5: Bake to Golden Perfection
Arrange all coated chicken pieces on your prepared baking tray, spacing them at least an inch apart to allow heat to circulate freely. Lightly spray the tops with olive oil or brush with melted butter—this step is essential for achieving that crispy, golden exterior. Place the tray in your preheated oven and bake for 40 to 45 minutes. Set a timer for 20 to 22 minutes, then carefully remove the tray and flip each piece using tongs. Spray or brush the newly exposed side with oil, then return to the oven to finish cooking. The chicken is done when it reaches an internal temperature of 75°C and the coating is deep golden brown and crispy.
Notes
Marinating the chicken overnight results in maximum tenderness and optimal flavor absorption. The longer marination time is always worth the wait.
For extra crispy coating, let the coated chicken rest at room temperature for 10 to 15 minutes before baking. This allows the flour to fully hydrate and creates an even crispier finish.
Required Equipment
- Oven
- Baking tray
- Parchment paper
- Mixing bowls
- Brush or oil spray
- Tongs for turning chicken
Allergen Information
This recipe contains wheat (gluten) from the all-purpose flour and dairy from the buttermilk. Check each ingredient label for potential allergens and consult a healthcare professional if you have specific dietary concerns or restrictions.
Nutritional Information (per serving)
This data serves as a general guide and should not replace professional medical or dietary advice.
- Calories: 410
- Fats: 19 g
- Carbohydrates: 29 g
- Proteins: 29 g