Indulgent Double Chocolate Peppermint Cookies Recipe
The holiday season brings with it a magical atmosphere of twinkling lights, warm gatherings, and the irresistible aroma of freshly baked cookies wafting through the kitchen. Among the countless cookie recipes that grace our holiday tables, few can compete with the decadent allure of Double Chocolate Peppermint Cookies. These magnificent treats combine the rich, deep flavors of chocolate with the bright, refreshing notes of peppermint, creating a harmonious blend that captures the essence of Christmas in every bite.
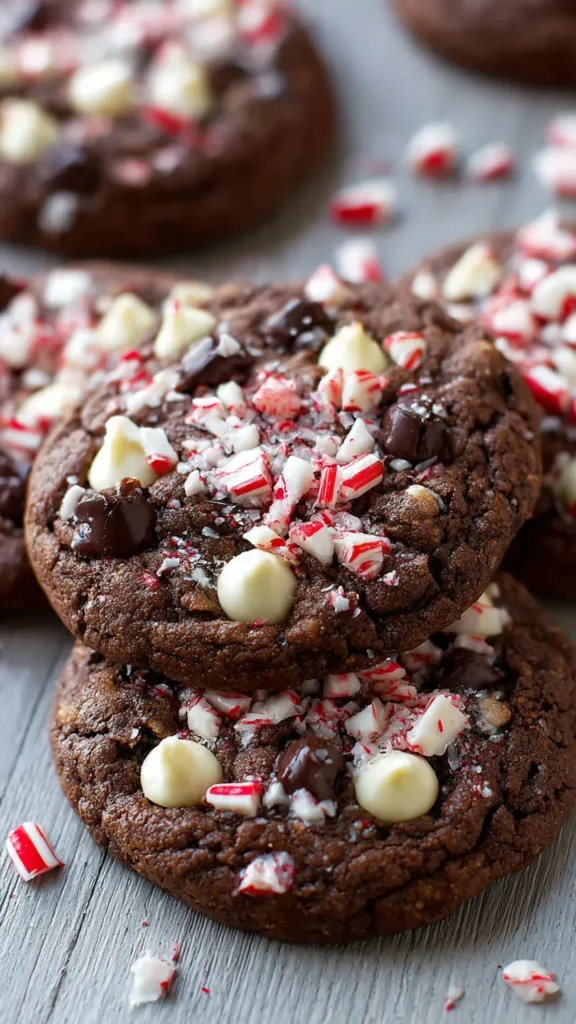
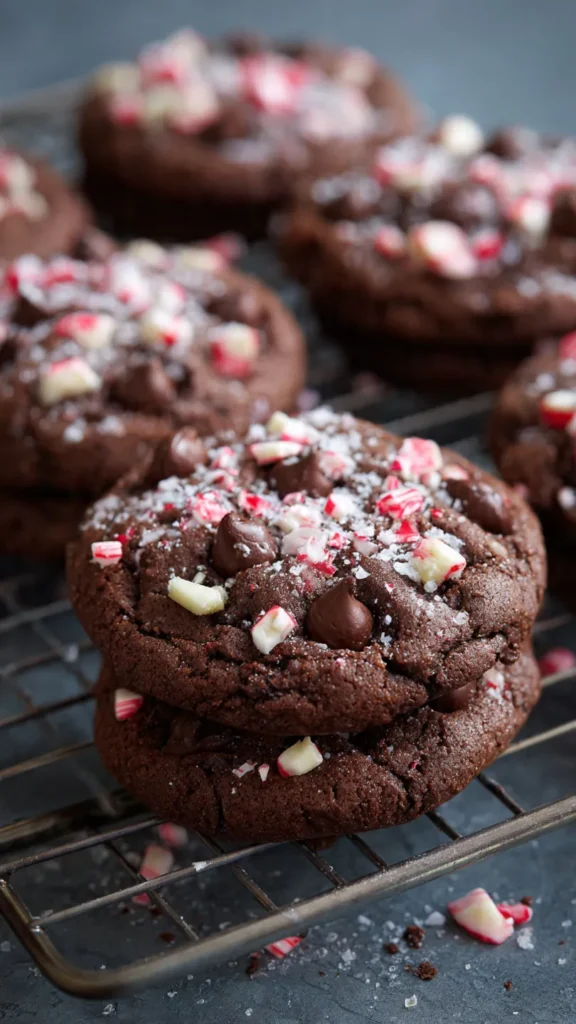
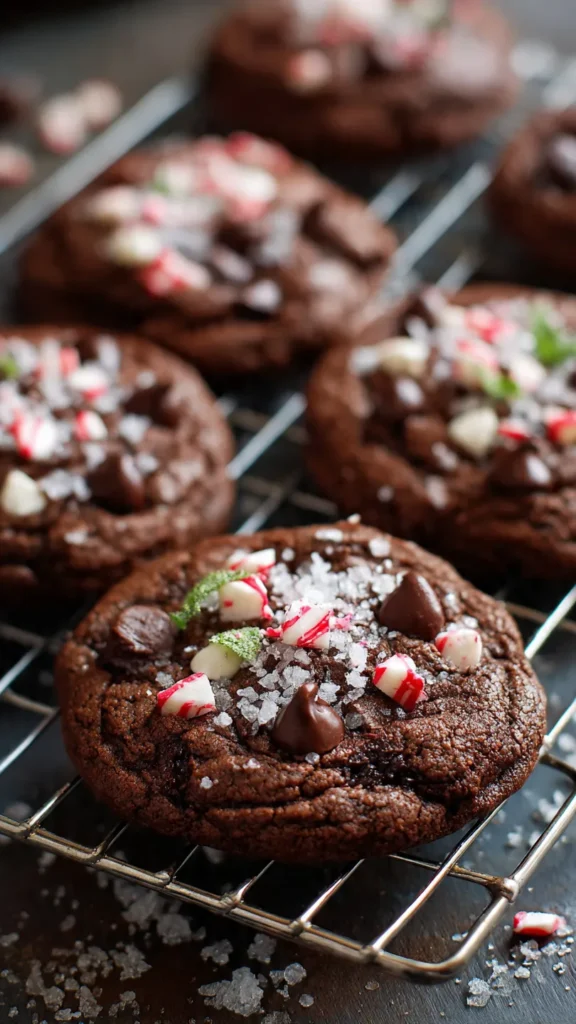
What makes these cookies truly special is their perfect balance of textures and flavors. The exterior offers a slight crispness that gives way to a fudgy, almost brownie-like center. Pockets of melted chocolate chips create little pools of molten goodness, while crushed peppermint candies provide unexpected bursts of cool, minty sweetness and a satisfying crunch. Whether you’re an experienced baker or just starting your culinary journey, this recipe offers a straightforward path to creating show-stopping cookies that will have everyone asking for seconds.
These cookies aren’t just delicious—they’re also incredibly versatile. They make wonderful additions to holiday cookie platters, thoughtful homemade gifts when packaged in festive tins, or the perfect accompaniment to a steaming mug of hot cocoa on a cold winter evening. The striking appearance of dark chocolate studded with flecks of red and white peppermint makes them visually stunning, adding a festive touch to any dessert table.
Table of Contents
Ingredients
Wet Ingredients
- 1 cup unsalted butter, softened to room temperature
- 1 cup granulated sugar
- 1/2 cup packed light brown sugar
- 2 large eggs, at room temperature
- 2 teaspoons pure vanilla extract
- 1/2 teaspoon peppermint extract (optional, but highly recommended)
Dry Ingredients
- 1 1/4 cups all-purpose flour
- 3/4 cup unsweetened cocoa powder
- 1 teaspoon baking soda
- 1/2 teaspoon salt
Mix-Ins
- 1 cup semi-sweet chocolate chips
- 1/2 cup dark chocolate chunks
- 3/4 cup crushed peppermint candies or candy canes
Step-by-Step Instructions
Preparing the Cookie Dough
Begin by ensuring your butter is properly softened—it should be pliable but not melted. In a large mixing bowl, combine the softened butter with both the granulated sugar and packed brown sugar. Using an electric mixer on medium speed, cream these ingredients together for approximately 3 to 4 minutes until the mixture becomes noticeably lighter in color and takes on a fluffy texture. This creaming process is crucial as it incorporates air into the dough, contributing to the cookies’ final texture.
Once your butter and sugar mixture reaches the ideal consistency, reduce your mixer speed to low and add the eggs one at a time. Allow each egg to fully incorporate before adding the next one. This gradual addition helps create a smooth, emulsified mixture rather than a separated or curdled one. After both eggs are thoroughly mixed in, add the vanilla extract and peppermint extract if you’re using it. The peppermint extract intensifies the minty flavor, creating a more pronounced holiday taste.
Combining Dry Ingredients
In a separate medium-sized bowl, whisk together your dry ingredients. Combine the all-purpose flour, unsweetened cocoa powder, baking soda, and salt. Whisking these ingredients together before adding them to the wet mixture ensures even distribution of the leavening agent and prevents pockets of baking soda from creating an unpleasant taste in your finished cookies. The cocoa powder should be sifted if it appears lumpy to avoid clumps in your dough.
Gradually add the dry ingredient mixture to your wet ingredients, mixing on low speed or folding by hand with a wooden spoon. Mix only until the flour is just incorporated and no white streaks remain. Overmixing at this stage can develop too much gluten in the flour, resulting in tough, cakey cookies rather than the tender, fudgy texture we’re aiming for.
Adding the Chocolate and Peppermint
Now comes the fun part—folding in the chocolate chips, dark chocolate chunks, and crushed peppermint candies. Use a sturdy spatula or wooden spoon to gently fold these mix-ins into the dough until they’re evenly distributed. The combination of semi-sweet and dark chocolate provides depth and complexity to the chocolate flavor, while the peppermint pieces add that signature holiday taste and visual appeal.
Chilling the Dough
This step is crucial and should not be skipped. Cover your bowl with plastic wrap or transfer the dough to an airtight container, then refrigerate for at least 30 minutes. Chilling serves multiple purposes: it allows the flour to fully hydrate, which improves texture; it firms up the butter, preventing the cookies from spreading too much during baking; and it gives the flavors time to meld together, resulting in a more developed taste. If you have the time, chilling for up to 2 hours produces even better results.
Baking the Cookies
When you’re ready to bake, preheat your oven to 350°F (175°C). Line your baking sheets with parchment paper or silicone baking mats to prevent sticking and ensure easy cleanup. Using a cookie scoop or spoon, portion the dough into balls roughly 2 tablespoons in size, spacing them about 2 inches apart on the prepared baking sheets. The cookies will spread during baking, so adequate spacing prevents them from merging together.
Bake the cookies for 9 to 11 minutes. The exact timing depends on your oven and how fudgy you prefer your cookies. At 9 minutes, the cookies will be very soft and fudgy in the center. At 11 minutes, they’ll have a bit more structure while still maintaining that desirable soft texture. The cookies may look slightly underdone when you remove them from the oven—this is perfect. They’ll continue cooking on the hot baking sheet, and this technique prevents overbaking.
Cooling and Finishing
Allow the cookies to cool on the baking sheet for about 5 minutes before transferring them to a wire cooling rack. This cooling period lets them set up enough to move without breaking apart. Once on the wire rack, let them cool completely if you can resist eating them warm. The flavors continue to develop as the cookies cool, and the texture becomes more defined.
Expert Tips for Perfect Cookies
The quality of your cocoa powder significantly impacts the final flavor of these cookies. Dutch-process cocoa powder, which has been treated with an alkalizing agent, produces a darker color and mellower, more complex chocolate flavor compared to natural cocoa powder. However, either type works beautifully in this recipe.
For the most intense peppermint flavor, crush your peppermint candies or candy canes just before adding them to the dough. Freshly crushed peppermint retains more of its essential oils and delivers a stronger mint taste. Place the candies in a sealed plastic bag and use a rolling pin or the bottom of a heavy pan to crush them into small pieces.
These cookies freeze exceptionally well, both as dough and as baked cookies. To freeze the dough, portion it into balls, freeze them on a baking sheet until solid, then transfer to a freezer bag. You can bake them directly from frozen, adding an extra minute or two to the baking time. Baked cookies can be stored in an airtight container at room temperature for up to 5 days or frozen for up to 3 months.
Notes
Chilling the dough for at least 30 minutes is essential for preventing excessive spreading and allowing flavors to develop. For an even deeper chocolate flavor, consider using Dutch-process cocoa powder. The cookies are at their best when slightly underbaked, maintaining that fudgy center that makes them irresistible.