Indulgent Berry Cheesecake – Creamy Vanilla Delight
There’s something truly magical about a perfectly crafted cheesecake. The way it melts on your tongue, the delicate balance between sweet and tangy, and the satisfying contrast of textures make it one of the most beloved desserts around the world. Our Berry Cheesecake – Creamy Vanilla Dessert Recipe takes this classic treat and elevates it with layers of rich, velvety filling and a spectacular topping of fresh, vibrant berries.
This isn’t just any cheesecake. It’s a celebration dessert that transforms ordinary gatherings into memorable occasions. Whether you’re planning a birthday party, hosting a holiday dinner, or simply treating your family to something special on a weekend, this cheesecake delivers both visual appeal and extraordinary flavor. The buttery graham cracker crust provides the perfect foundation, while the luxurious cream cheese filling enriched with sour cream and heavy cream creates that signature smooth texture that makes cheesecake so irresistible.
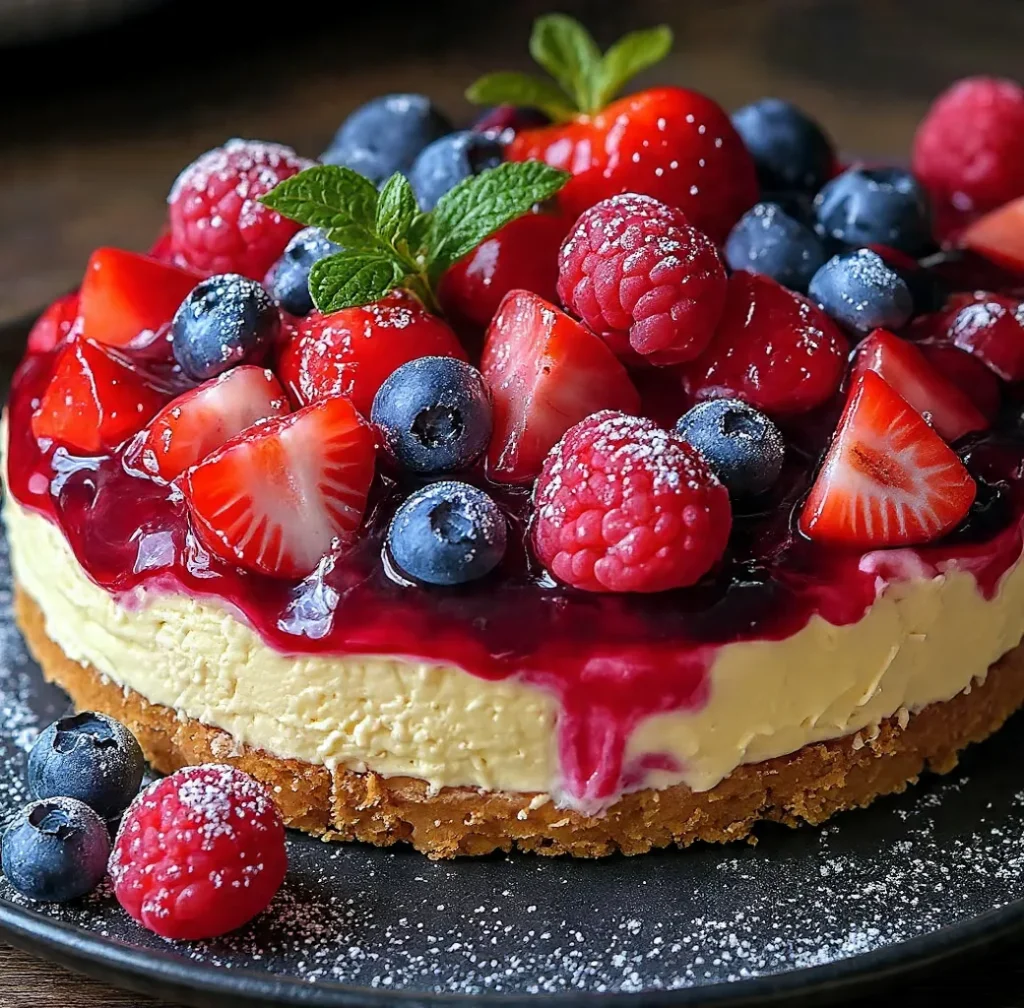
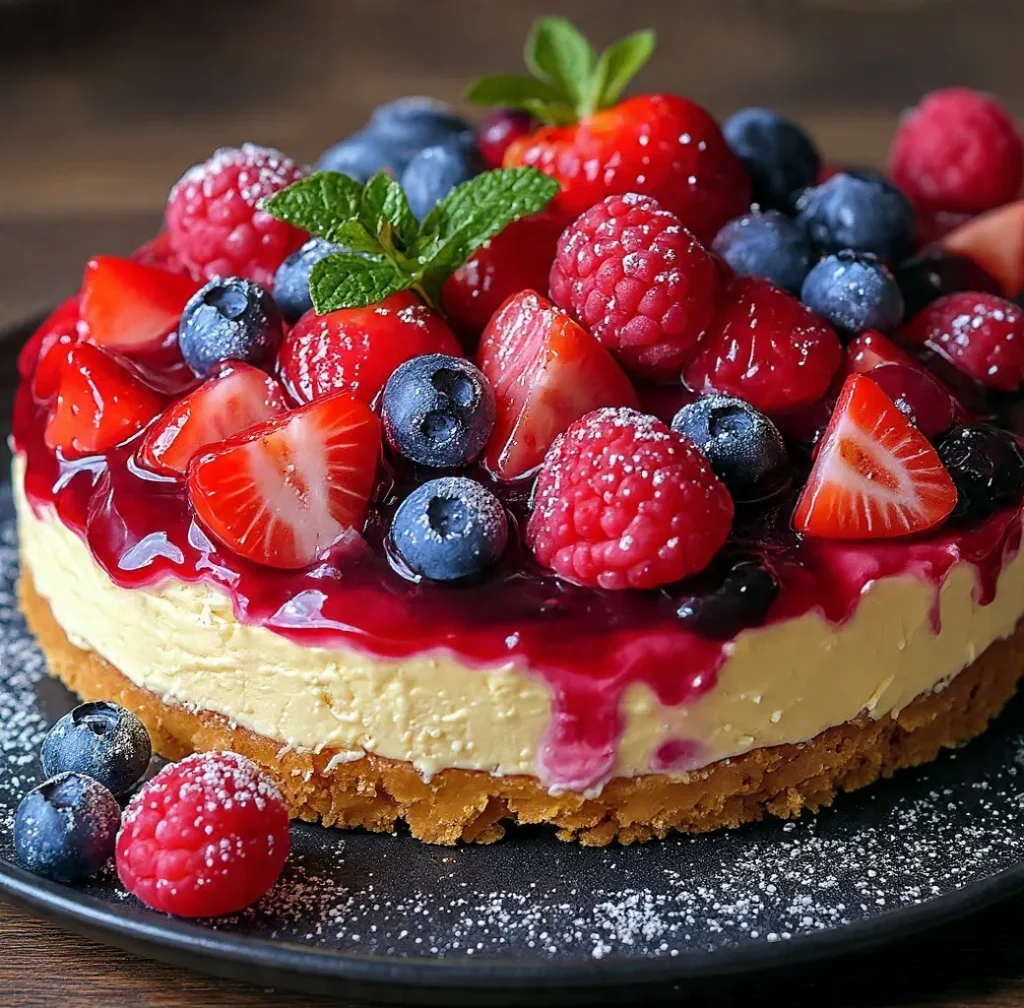
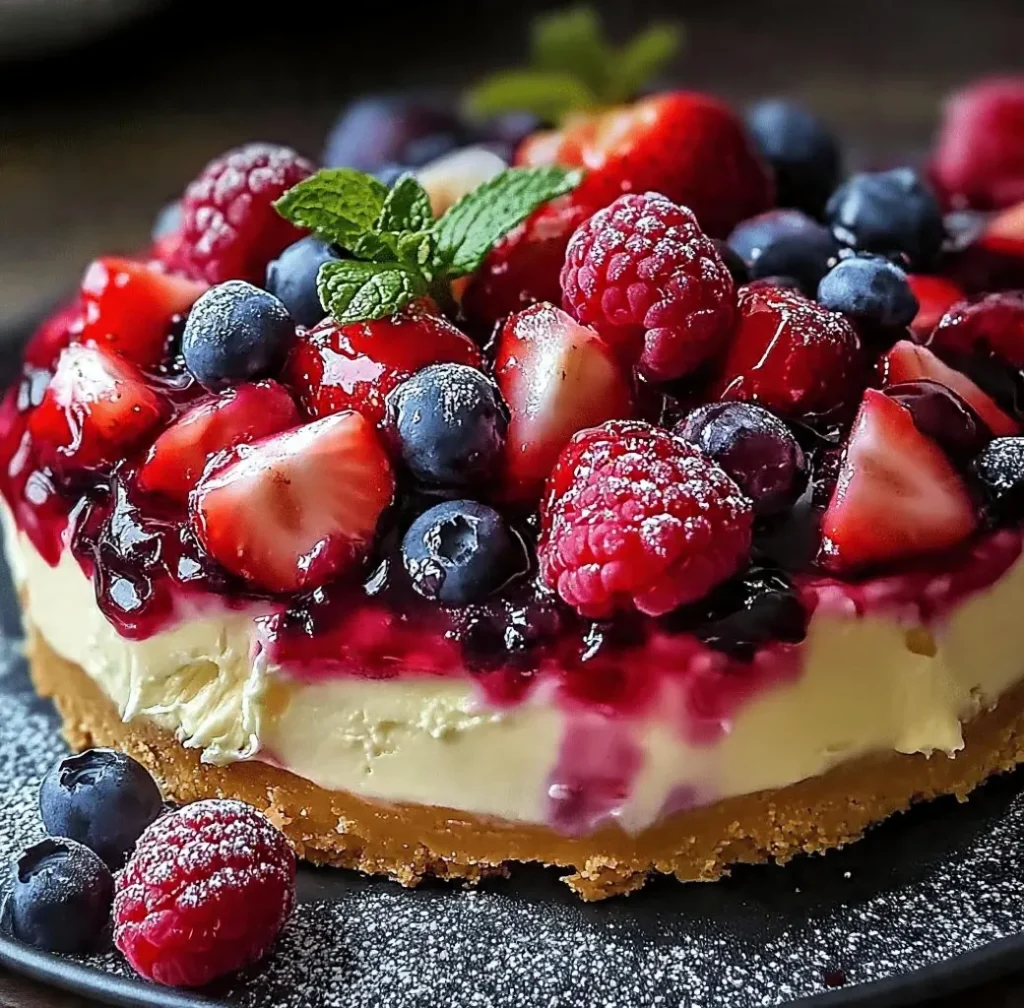
What sets this recipe apart is the stunning berry topping. Fresh strawberries, blueberries, and raspberries not only add gorgeous pops of color but also bring a delightful tartness that perfectly balances the sweetness of the creamy filling. The combination of textures—from the crunchy crust to the silky filling to the juicy berries—creates a multi-dimensional dessert experience that will have everyone asking for seconds.
This recipe may look sophisticated, but it’s surprisingly approachable for home bakers of all skill levels. With clear instructions and helpful tips, you’ll be able to create a bakery-quality cheesecake right in your own kitchen. The best part? Most of the work can be done ahead of time, making this an ideal make-ahead dessert for stress-free entertaining.
Table of Contents
Ingredients
For the Crust:
- 1 ½ cups graham cracker crumbs
- ¼ cup granulated sugar
- 6 tablespoons unsalted butter, melted
For the Filling:
- 16 ounces cream cheese, softened to room temperature
- ¾ cup granulated sugar
- 2 large eggs, room temperature
- 1 teaspoon vanilla extract
- 1 cup sour cream
- ½ cup heavy cream
For the Berry Topping:
- 1 cup fresh strawberries, halved
- ¾ cup fresh blueberries
- ¾ cup fresh raspberries
- ½ cup berry preserves (raspberry, strawberry, or mixed berry)
- 1 tablespoon fresh lemon juice
- Powdered sugar for dusting (optional)
- Fresh mint leaves for garnish
Instructions
Preparing the Graham Cracker Crust
Begin by preheating your oven to 325°F (160°C). This moderate temperature ensures even baking without browning the crust too quickly. Prepare a 9-inch springform pan by lining the bottom with parchment paper, which will make removing the finished cheesecake much easier.
In a medium mixing bowl, combine the graham cracker crumbs with ¼ cup of granulated sugar. The sugar adds a touch of sweetness while also helping to bind the crumbs together. Pour in the melted butter and stir with a fork until the mixture resembles wet sand and holds together when pressed. You want every crumb coated with butter to ensure a cohesive, crunchy base.
Transfer the mixture to your prepared springform pan. Using the bottom of a measuring cup or glass, firmly press the crumbs into an even layer across the bottom of the pan. Don’t forget to press slightly up the sides—about half an inch—to create a small edge that will cradle the filling. The key here is applying steady, even pressure to create a compact crust that won’t crumble when sliced.
Bake the crust for 10 minutes until it’s lightly golden and fragrant. This pre-baking step is crucial as it sets the crust and prevents it from becoming soggy once the filling is added. Remove from the oven and let it cool completely while you prepare the filling.
Creating the Velvety Cream Cheese Filling
The secret to a perfectly smooth cheesecake filling lies in your cream cheese preparation. Make sure your cream cheese has been sitting at room temperature for at least one hour before you begin. Cold cream cheese will create lumps that are difficult to blend out, resulting in a less-than-silky texture.
In a large mixing bowl or the bowl of a stand mixer, beat the softened cream cheese on medium speed for about 2-3 minutes until it’s completely smooth and fluffy. Scrape down the sides of the bowl frequently to ensure even mixing. Add the ¾ cup of granulated sugar and continue beating for another 2 minutes until the mixture is light and well combined.
Now comes an important step: adding the eggs. Add them one at a time, beating on low speed just until each egg is incorporated before adding the next. This gradual addition prevents overmixing, which can introduce too much air into the batter and lead to cracks during baking. Once both eggs are incorporated, add the vanilla extract and mix briefly.
Pour in the sour cream and heavy cream. These ingredients are what give the cheesecake its signature tangy flavor and luxurious, creamy texture. Mix on low speed just until everything is combined and the batter is silky smooth. Remember, less is more when it comes to mixing at this stage—overmixing can cause the cheesecake to puff up and then collapse, creating cracks.
Baking to Perfection
Pour the filling over your cooled crust, using a spatula to smooth the top into an even layer. Give the pan a gentle tap on the counter to release any air bubbles trapped in the batter.
Place the springform pan in the preheated 325°F (160°C) oven. Bake for 40-45 minutes. You’re looking for specific visual cues: the edges should be set and slightly puffed, while the center should still have a slight jiggle—think of a gentle wobble like gelatin. This jiggle is your friend! It means the center is still creamy and won’t be overbaked and grainy.
When the time is up, turn off the oven but don’t remove the cheesecake. Crack the oven door open about 1-2 inches and let the cheesecake cool gradually in this warm environment for one full hour. This slow cooling process helps prevent the sudden temperature change that often causes cracks to form on the surface.
Chilling and Setting
After the hour in the oven, remove the cheesecake and let it cool completely to room temperature on a wire rack. This will take another 1-2 hours. Once it’s no longer warm to the touch, cover the pan with plastic wrap and refrigerate for at least 4 hours, though overnight is ideal. This chilling time allows the filling to fully set and the flavors to develop and meld together beautifully.
Preparing the Berry Topping
About an hour before serving, prepare your stunning berry topping. In a small saucepan over low heat, combine the berry preserves with the tablespoon of lemon juice. The lemon juice brightens the flavor and adds a subtle tartness that complements the sweet berries. Stir continuously until the preserves are melted and smooth, creating a glossy glaze. Remove from heat and let it cool to room temperature.
Once the glaze has cooled, you can apply it to your chilled cheesecake. Carefully spread it over the top of the cheesecake using an offset spatula, leaving a small border around the edge if desired. The glaze not only adds flavor but also creates a beautiful, professional-looking finish.
Arrange your fresh berries artfully on top of the glaze. You can create a pattern, scatter them randomly, or arrange them in neat rows—let your creativity shine. The vibrant colors of red strawberries, deep blue blueberries, and bright red raspberries create a stunning visual display that’s almost too pretty to eat.
Serving Your Masterpiece
When you’re ready to serve, run a thin knife around the edge of the pan to loosen the cheesecake, then carefully release the springform. For clean, beautiful slices, dip a sharp knife in hot water, wipe it dry, and make your cut. Repeat this process between each slice for picture-perfect results.
Garnish each slice with a light dusting of powdered sugar and a fresh mint leaf for an elegant finishing touch. The mint adds a pop of color and a subtle aromatic quality that enhances the berry flavors.
Expert Tips for Success
Temperature Matters: Room temperature ingredients blend together more smoothly and create a better texture. Take your cream cheese, eggs, and sour cream out of the refrigerator at least an hour before you plan to start baking.
Avoid Overmixing: Mix the batter only until ingredients are just combined. Excessive mixing incorporates too much air, which can cause the cheesecake to rise dramatically and then fall, creating cracks and an uneven texture.
Water Bath Technique: For an even more foolproof cheesecake with virtually no risk of cracks, consider using a water bath. Wrap the outside of your springform pan tightly with aluminum foil, place it in a larger roasting pan, and pour hot water into the roasting pan until it comes halfway up the sides of the springform. The humid environment creates gentle, even heat.
Patience Is Key: Resist the urge to check on your cheesecake too often or rush the cooling process. Opening the oven door frequently causes temperature fluctuations, and rapid cooling can lead to cracks.
Make-Ahead Friendly: This cheesecake actually tastes better after sitting overnight, making it perfect for party planning. You can make it up to two days ahead and add the berry topping on the day of serving.
Storage and Serving Suggestions
Store leftover cheesecake covered in the refrigerator for up to 5 days. The berries will soften slightly over time, but the cheesecake itself maintains its creamy texture beautifully. For longer storage, you can freeze unfrosted cheesecake slices wrapped tightly in plastic wrap and aluminum foil for up to 2 months.
This Berry Cheesecake pairs wonderfully with a cup of freshly brewed coffee, hot tea, or even a glass of dessert wine. The richness of the cheesecake is perfectly balanced by the bright, fresh berry topping, creating a dessert that’s indulgent yet refreshing.