Creamy Homemade Hummus: Better Than Store-Bought
There’s something magical about making hummus from scratch in your own kitchen. This Middle Eastern staple has become a beloved dip worldwide, and for good reason. With just a handful of simple ingredients and a food processor, you can create a thick, creamy hummus that puts store-bought versions to shame. The best part? It takes less than 10 minutes from start to finish.
Whether you’re hosting a party, meal prepping for the week, or simply craving a healthy snack, this homemade hummus recipe delivers on flavor and texture every single time. The silky smooth consistency makes it perfect for spreading on sandwiches, dipping fresh vegetables, or slathering on warm pita bread.
Why Make Hummus at Home?
Store-bought hummus often contains preservatives, stabilizers, and unnecessary additives to extend shelf life. When you make it yourself, you control exactly what goes into your dip. You’ll taste the difference immediately—the fresh lemon juice brightens every bite, the garlic adds just the right kick, and the tahini brings that distinctive nutty richness that makes hummus so addictive.
Beyond the superior taste, homemade hummus is incredibly cost-effective. A single can of chickpeas transforms into roughly 2 cups of creamy dip for a fraction of what you’d pay at the grocery store. Plus, you can customize the flavors to suit your preferences, adjusting the garlic, lemon, or tahini to create your perfect blend.
The Secret to Ultra-Creamy Hummus
The key to restaurant-quality hummus lies in a few simple techniques. First, properly preparing your chickpeas makes all the difference. While you can use them straight from the can after draining and rinsing, taking an extra 20 minutes to simmer them in water creates an incredibly smooth texture. This gentle cooking softens the chickpeas further, allowing your food processor to break them down into the silkiest consistency possible.
Quality ingredients matter tremendously in such a simple recipe. Since olive oil plays a starring role, invest in the best extra virgin olive oil your budget allows. The flavor shines through in the finished product, adding depth and richness that lesser oils simply can’t provide. Similarly, fresh lemon juice outperforms bottled versions every time, bringing a bright, zesty flavor that balances the earthy chickpeas perfectly.
Ingredients
- 15 ounce can of chickpeas
- ½-1 clove garlic
- 1 tablespoon tahini (heaped)
- 1 lemon, juiced
- 1 teaspoon salt
- 1 teaspoon pepper
- ¼ cup extra virgin olive oil, plus extra for drizzling
Instructions
Begin by placing your chickpeas in a colander and giving them a thorough rinse under cold running water. This removes the slightly metallic taste from the canning liquid and any excess sodium. Let them drain completely—you want them as dry as possible before blending.
Transfer the drained chickpeas to your food processor bowl. Add the garlic clove (start with half if you’re sensitive to garlic—you can always add more), freshly squeezed lemon juice, heaping tablespoon of tahini, salt, pepper, and olive oil. Make sure your tahini is well-stirred before measuring, as the oil tends to separate in the jar.
Pulse the food processor several times to break down the chickpeas, then blend continuously until the mixture becomes almost smooth. Stop occasionally to scrape down the sides of the bowl with a spatula, ensuring everything gets evenly incorporated. The hummus should be creamy but retain just a hint of texture for that authentic feel.
Now comes the fun part—taste testing! Dip a spoon into your creation and adjust the seasonings as needed. Want more tang? Add another squeeze of lemon. Need more depth? A pinch more salt often does the trick. Prefer it garlicky? Blend in the remaining garlic clove.
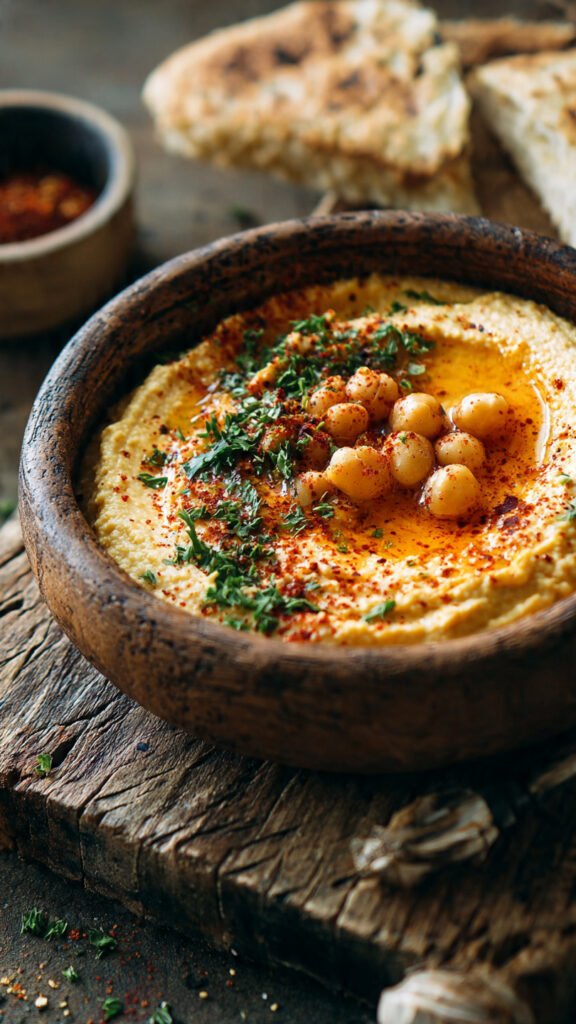
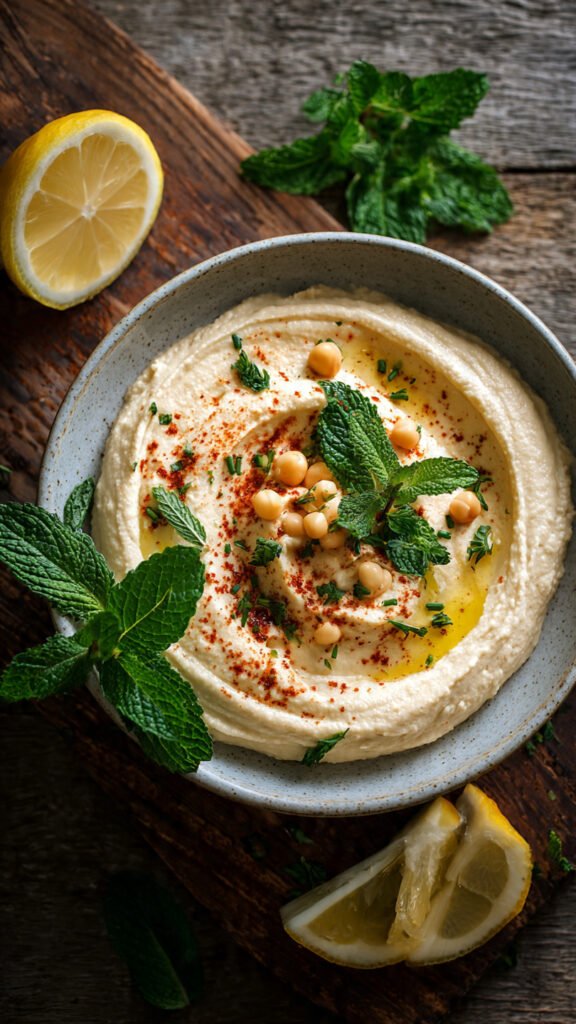
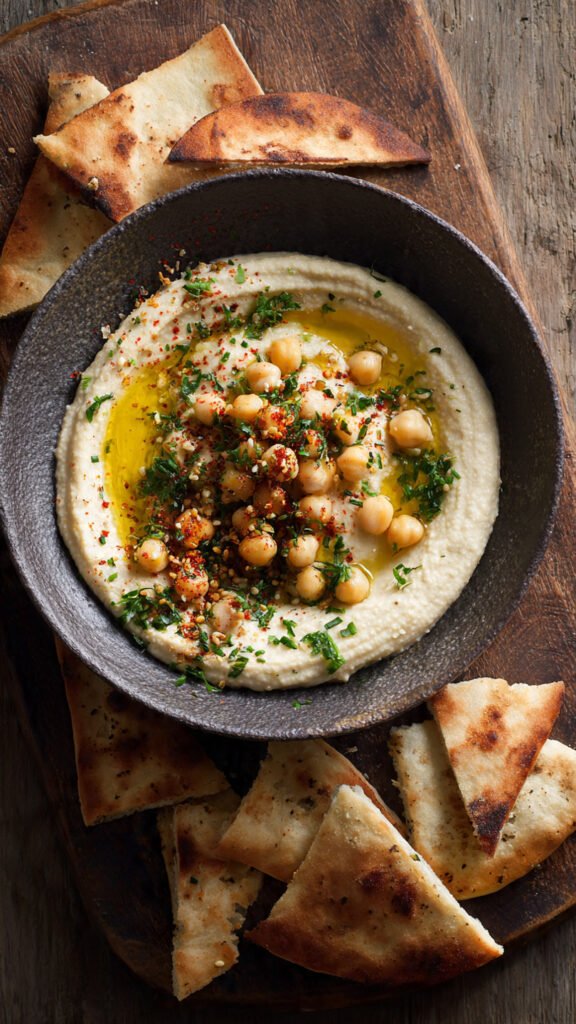
Once you’re happy with the flavor, transfer the hummus to your serving dish. Create a shallow well in the center with the back of a spoon and drizzle with your finest olive oil. This final touch adds visual appeal and an extra layer of rich flavor with every scoop.
Serving Suggestions
Hummus is incredibly versatile and pairs beautifully with countless foods. The classic approach involves serving it alongside fresh vegetable crudités—crisp cucumber rounds, colorful bell pepper strips, cherry tomatoes, and carrot sticks all make excellent dippers. For crunch lovers, add an assortment of crackers, breadsticks, and pita chips to your platter.
Warm flatbreads or pita bread take hummus to another level entirely. The contrast of warm, soft bread with cool, creamy hummus is simply irresistible. You can also use it as a sandwich spread in place of mayonnaise, adding protein and flavor to wraps and subs. It even works as a base for grain bowls, topped with roasted vegetables and your favorite protein.
Customization Ideas
While this recipe produces a beautifully simple, classic hummus, it’s also a blank canvas for creativity. Add a teaspoon of cumin for an earthy, warm flavor that complements the chickpeas wonderfully. Smoked paprika brings a subtle smokiness and gorgeous color when swirled on top. Sumac offers a tangy, lemony note that’s popular in Middle Eastern cuisine.
For roasted red pepper hummus, blend in half a cup of jarred roasted peppers. Sun-dried tomatoes create a rich, Mediterranean variation. Fresh herbs like cilantro or parsley add brightness and color. The possibilities are truly endless once you master this basic recipe.
Storage Tips
Proper storage keeps your hummus fresh and delicious for days. Transfer it to an airtight container and smooth the top with a spoon. Pour a thin layer of olive oil over the surface—this creates a barrier against air and prevents the hummus from drying out or developing an off flavor. Seal the container tightly and refrigerate for up to 5 days.
For longer storage, hummus freezes beautifully for up to 3 months. Portion it into smaller containers for easy thawing. When you’re ready to use it, transfer the container to the refrigerator and let it thaw overnight. Give it a good stir before serving, as some separation may occur during freezing and thawing.
Pro Tips for Success
Authentic hummus shouldn’t be completely smooth—maintaining a slight texture gives it character and prevents it from becoming paste-like. Blend until just creamy, stopping before it becomes baby food consistency.
If your finished hummus seems too thick, don’t worry. Simply add a tablespoon of olive oil or water at a time while pulsing until you reach your desired consistency. Remember, it will thicken slightly as it chills in the refrigerator.
For a lighter version, replace half the olive oil with water. This cuts the fat content while still maintaining a creamy texture. The hummus won’t be quite as rich, but it’s still delicious and satisfying.
The quality of your tahini matters more than you might think. Look for tahini made from 100% ground sesame seeds with no added oils or preservatives. It should pour smoothly and have a nutty, slightly sweet flavor without any bitterness.
Nutritional Benefits
Beyond its incredible taste, hummus packs serious nutritional value. Chickpeas provide plant-based protein and fiber, keeping you satisfied between meals. The tahini contributes healthy fats and minerals like calcium and iron. Olive oil offers heart-healthy monounsaturated fats, while lemon juice provides vitamin C.
This recipe yields approximately 2 cups of hummus, with the entire batch containing 1076 calories, 43g protein, 136g carbohydrates, and 44g fat. It’s rich in fiber with 39g per batch, making it an excellent choice for digestive health and sustained energy.