Grilled Cheese Burrito Recipe
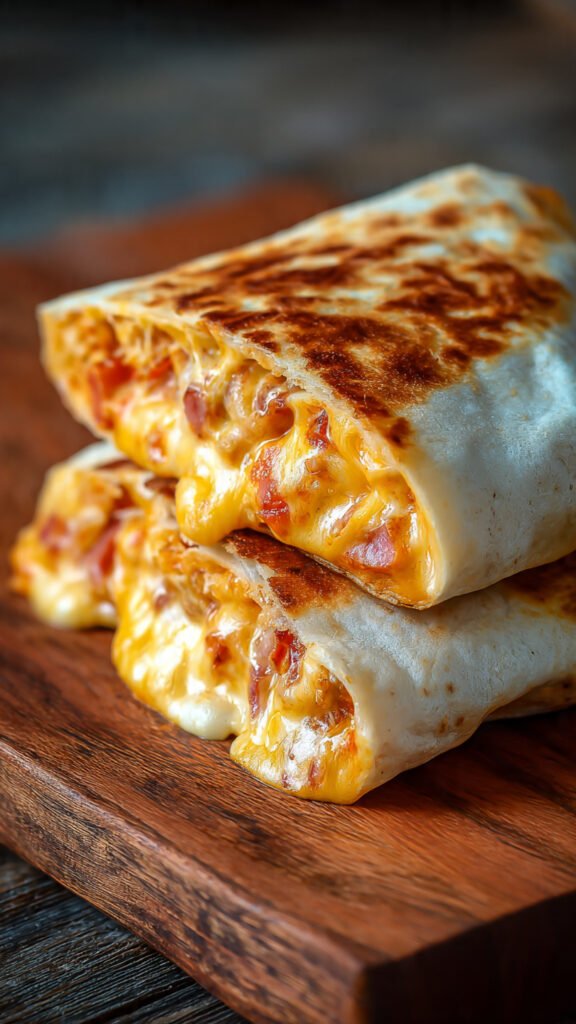
There’s something magical about combining two beloved comfort foods into one unforgettable dish. This grilled cheese burrito brings together the crispy, buttery satisfaction of a classic grilled cheese sandwich with the hearty convenience of a burrito wrap. The result? A golden, crunchy exterior that gives way to layers of melted cheese and savory fillings—pure comfort in every bite.
What makes this recipe truly special is how it transforms simple ingredients into something extraordinary. The contrast between the crispy tortilla shell and the gooey cheese center creates a textural experience that keeps you coming back for more. Whether you’re cooking for yourself on a busy weeknight or looking to impress friends with a creative twist on familiar favorites, this grilled cheese burrito delivers on all fronts.
Why This Recipe Works
This isn’t just another fusion recipe—it’s a carefully crafted combination that honors both of its inspirations while creating something entirely new.
The magic starts with the grilled cheese foundation. By cooking the sandwich first, you ensure that the cheese reaches that perfect melted consistency before wrapping it in the tortilla. This two-step cooking process guarantees you won’t end up with cold cheese or a burnt exterior—a common problem when trying to cook everything at once.
The tortilla serves as more than just a wrapper. When grilled properly, it becomes a second layer of crispy texture that complements the buttery bread inside. This double-crisp approach creates dimension and prevents the sogginess that can plague other burrito recipes.
Time-Saving Benefits
In less than 20 minutes, you’ll have a complete meal that tastes like you spent far longer in the kitchen. The straightforward cooking method means minimal cleanup—usually just two pans and a cutting board. This efficiency makes it perfect for those evenings when hunger strikes but energy is low.
Endless Customization
The basic recipe provides a delicious canvas for creativity. Start with the classic version, then experiment with different cheeses, add proteins, or incorporate vegetables. Each variation opens up new flavor possibilities while maintaining the core appeal of melted cheese wrapped in a crispy shell.
Ingredient Selection Guide
Choosing quality ingredients elevates this simple recipe from good to exceptional.
The Bread Foundation
Select a sturdy white or whole wheat bread that can withstand the grilling process without falling apart. Avoid thin sandwich bread, which tends to tear when filled with cheese. Look for bread with some density—sourdough, Italian, or a thick-cut sandwich bread work beautifully. The bread should be fresh enough to remain pliable but not so soft that it becomes mushy when buttered.
Choosing Your Cheese
The cheese blend makes or breaks this recipe. Sharp cheddar provides bold flavor and melts smoothly, while mozzarella adds that coveted stretchy quality. Consider using freshly grated cheese rather than pre-shredded varieties, which contain anti-caking agents that can prevent optimal melting.
For adventurous palates, pepper jack introduces a spicy kick, while smoked gouda adds depth and complexity. Fontina and gruyère bring a sophisticated, nutty quality that pairs wonderfully with added vegetables or proteins.
Butter and Tortilla Essentials
Unsalted butter gives you control over the final seasoning and creates that signature golden crust. Room temperature butter spreads more easily and evenly across the bread surface. For the tortilla, choose large burrito-sized flour tortillas that provide enough surface area to wrap comfortably around the grilled cheese. Whole wheat tortillas add nutritional value and a slightly nutty flavor that complements the cheese.
Seasoning and Extras
Simple seasonings like salt, black pepper, garlic powder, and onion powder enhance the cheese’s natural flavors without overwhelming them. Consider keeping some smoked paprika or cayenne pepper on hand for when you want to add complexity or heat.
Additional fillings should complement rather than compete with the cheese. Sautéed onions add sweetness, bell peppers contribute color and crunch, and fresh spinach introduces a healthy element without altering the core character of the dish.
Creative Variations to Try
Once you’ve mastered the basic recipe, these variations will keep your grilled cheese burrito rotation exciting.
Spicy Southwest Style
Transform your burrito with jalapeño slices, a drizzle of chipotle mayo, and a sprinkle of cumin. Use pepper jack cheese and add black beans for protein and texture. Finish with fresh cilantro and a squeeze of lime for brightness that cuts through the richness.
Garden Vegetable Version
Load up with sautéed mushrooms, zucchini, and red onions for a vegetable-forward option. Add fresh spinach or arugula for peppery notes. Consider mixing in some cream cheese with your regular cheese blend for extra creaminess that helps bind the vegetables together.
Meat Lovers Edition
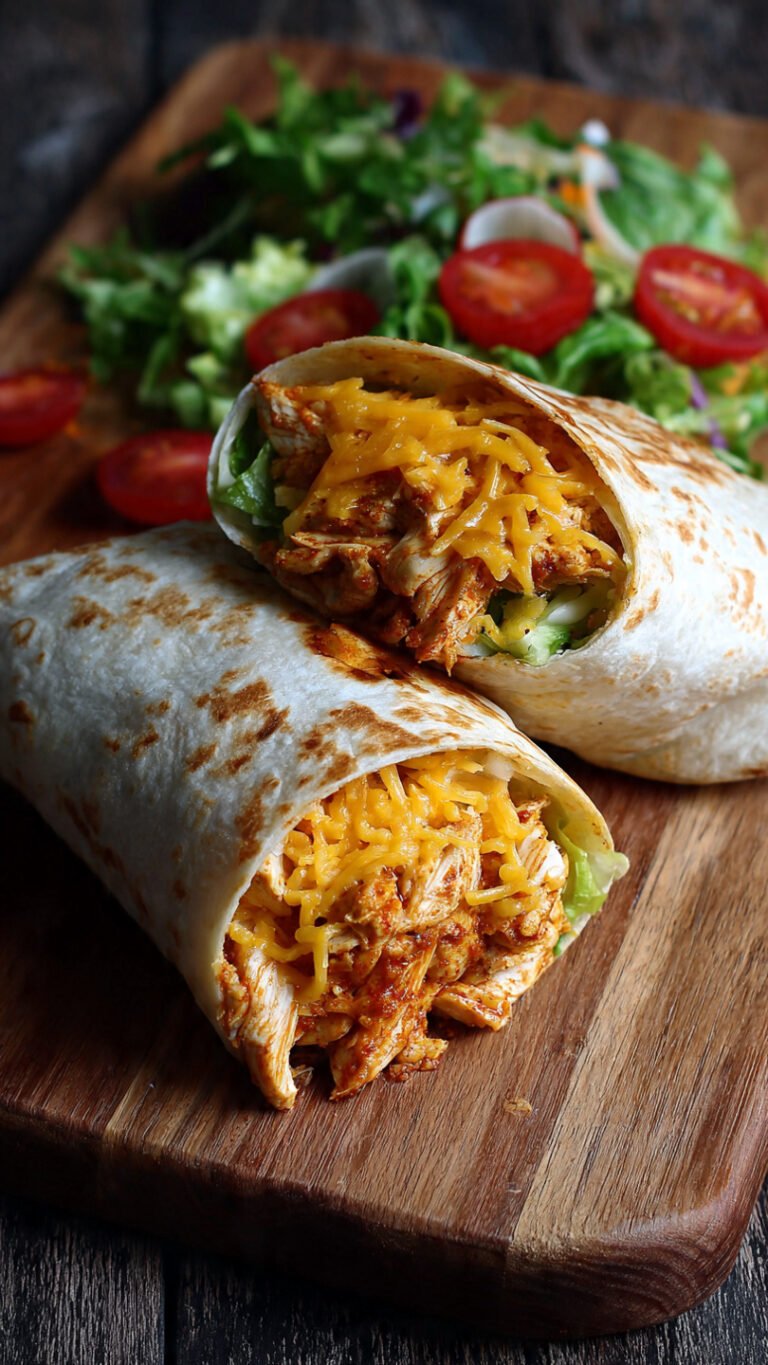
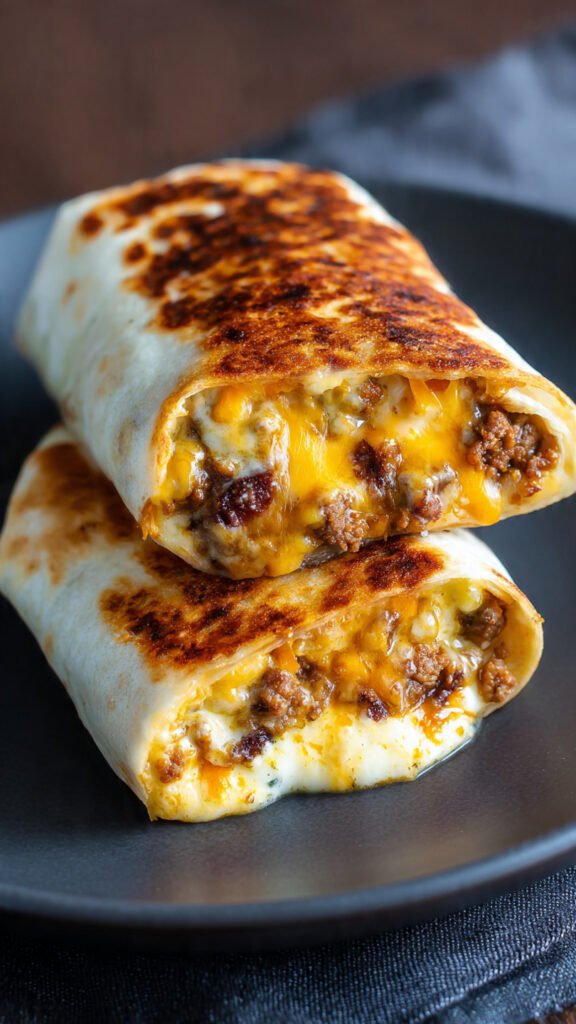
Crispy bacon, grilled chicken breast, or seasoned ground beef turn this into a protein-packed meal. For beef, season with taco spices before adding. Chicken works especially well when marinated in lime juice and garlic. Pulled pork with a touch of barbecue sauce creates a sweet-savory combination that’s incredibly satisfying.
Ultimate Cheese Experience
Go beyond the basic blend with a four-cheese combination. Try cheddar, mozzarella, provolone, and a touch of parmesan for complexity. Add a thin layer of cream cheese spread on the tortilla before assembling for extra richness and to help seal the edges.
Step-by-Step Cooking Instructions
Follow these detailed steps for consistently perfect results every time.
Creating the Perfect Grilled Cheese
Heat a skillet over medium heat while you prepare the bread. Butter one side of each slice generously, reaching all the way to the edges. Place one slice butter-side down in the preheated pan. Immediately layer your cheese—about 2-3 slices or a generous handful of shredded cheese. Top with the second slice of bread, butter-side up.
Cook for 3-4 minutes without moving the sandwich, allowing the bottom to develop a deep golden color. The key is patience—resist the urge to peek or press down, which can squeeze out the melted cheese. When the bottom reaches the perfect golden brown, flip carefully and cook the second side for another 3-4 minutes. You’ll know it’s ready when the cheese is fully melted and beginning to ooze slightly at the edges.
Warming the Tortilla
While your grilled cheese finishes cooking, warm the tortilla in a separate skillet or directly over a gas flame for about 30 seconds per side. The tortilla should become pliable and slightly charred in spots but not crispy. This warming step is crucial—it makes the tortilla flexible enough to wrap without cracking.
Assembly Technique
Place your warm tortilla on a clean work surface. Position the grilled cheese sandwich in the center, oriented diagonally to maximize wrapping surface. Fold the bottom edge up over the sandwich, then fold in both sides, pulling them snug against the filling. Finally, roll forward tightly, keeping constant pressure to create a compact cylinder. The warmth of the grilled cheese helps the tortilla stay pliable during this process.
Final Grilling Stage
Return the assembled burrito to your hot skillet, seam-side down. This initial placement helps seal the burrito closed. Grill for 1-2 minutes until the tortilla turns golden and crispy, then rotate to crisp the other side. Apply gentle pressure with a spatula to ensure even contact with the cooking surface.
Expert Tips for Success
These professional techniques ensure restaurant-quality results at home.
Heat Management
Maintaining proper heat throughout the cooking process prevents burning while ensuring thorough melting. Medium heat works best for most stoves, though you may need to adjust based on your equipment. Cast iron retains heat exceptionally well but requires slightly lower settings than nonstick pans.
Filling Proportions
Resist the temptation to overstuff. A sandwich with 2-3 slices of cheese or about 1/2 cup shredded cheese provides the perfect ratio of bread to cheese. Adding more than a few tablespoons of additional fillings makes wrapping difficult and can cause structural failures.
Cheese Melting Science
Different cheeses melt at different rates and temperatures. Combining a good melting cheese like mozzarella with a flavorful one like cheddar gives you both texture and taste. Room temperature cheese melts more evenly than cold cheese straight from the refrigerator.

Serving Suggestions and Pairings
Elevate your grilled cheese burrito experience with thoughtful accompaniments.
Fresh Toppings
Serve with chunky salsa for acidity that cuts through the richness. Guacamole adds creamy contrast and healthy fats. A dollop of sour cream provides cooling tanginess. Set out all three and let everyone customize their plate.
Side Dishes
A crisp green salad dressed with lime vinaigrette balances the heaviness of the cheese. Crispy french fries or sweet potato wedges satisfy the desire for different textures. Tortilla chips with queso or bean dip create a Tex-Mex feast.
Beverage Pairings
The richness of this dish pairs well with acidic, refreshing beverages. Mexican Coca-Cola, limeade, or iced tea all work wonderfully. For adult gatherings, a light Mexican lager or a margarita complements the flavors perfectly.
Storage and Reheating Strategies
Proper storage maintains quality for future meals.
Refrigerator Storage
Wrap cooled burritos individually in aluminum foil or place in airtight containers. They’ll keep for up to two days in the refrigerator. The cheese may firm up, but proper reheating restores the original texture.
Freezing Instructions
For longer storage, wrap each burrito tightly in plastic wrap, then in aluminum foil. Label with the date and freeze for up to two months. This double-wrapping prevents freezer burn and preserves flavor.
Reheating Methods
The stovetop method produces the best results. Heat a skillet over medium-low heat, place the burrito seam-side down, and cook for 3-4 minutes per side. Cover with a lid to trap heat and ensure the cheese melts thoroughly. Alternatively, reheat in a 350°F oven for 15-20 minutes, which works well for multiple burritos. Avoid microwaving, which creates a soggy exterior and unevenly melted cheese.
Common Questions Answered
Can I make this dairy-free?
Use plant-based butter and dairy-free cheese alternatives. Many brands now offer cheese that melts beautifully, though you may need to experiment to find your favorite.
What if my tortilla tears when wrapping?
Ensure your tortilla is warm and pliable. If it tears, start over with a fresh tortilla, warming it more thoroughly. Older tortillas tend to crack more easily than fresh ones.
How do I prevent the cheese from leaking out?
Don’t overfill the grilled cheese, and make sure it cools for 30-60 seconds before wrapping. This brief rest allows the cheese to set slightly, reducing leakage.
Can I prepare these in advance?
Assemble up to the final grilling step and refrigerate for up to 4 hours. Grill just before serving for the crispiest results.
Final Thoughts
This grilled cheese burrito represents comfort food at its finest—familiar flavors combined in an innovative way that feels both nostalgic and new. The recipe’s simplicity makes it accessible for beginners, while the customization options keep experienced cooks engaged and experimenting.
Whether you stick with the classic version or venture into creative variations, each bite delivers that perfect combination of crispy, gooey, and satisfying. It’s a recipe that invites you to make it your own, adapting to your tastes, dietary needs, and whatever ingredients you have on hand.